‘Dubbing’ WWII Rough-out boots
As a soldier, you won’t get very far without a pair of boots! There were a verity of boots amiable for a WW2 US soldier, the service boots, the rough-out boots and the jump boots. In this post were going to look at rough out boots (I have also done a Youtube video on this which you can watch here https://youtu.be/LuKlyCAWFJQ )
Introduced in June 1943, the roughout boots were the standard footwear for the US Army during WWII. They were worn by all branches of the service, including infantry, paratroopers, and armored units
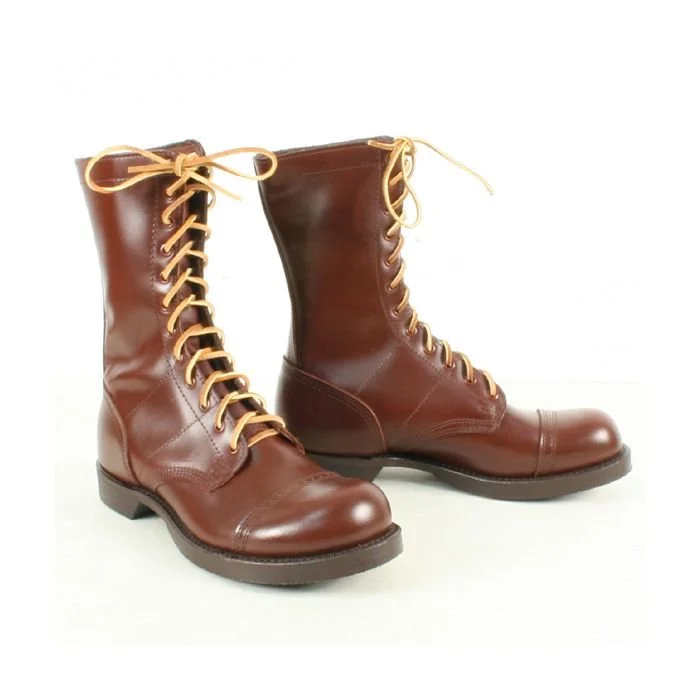

WWII roughout boots, officially known as "Shoes, Service, Reverse Upper," were a standard issue combat boot for the US Army during World War II. These boots gained their name from the reversed leather uppers, where the rough, flesh side faced outward, and the smooth side faced inward. They were designed to replace earlier service shoes and were widely used during training in England and on the D-Day invasion in Normandy.
As the leather is the other way round they need treating- or ‘dubbing’ so they become more waterproof. i’m going to talk you through how I did mine.

so you will need:
a pair of rough out boots
a ‘dubbing’ substance e.g snowseal, or I used Huberds shoe grease.
a rag
you might need a small soft brush, an old toothbrush would do- this is to get right in the seems of the boots
I suggest breaking the boots in first before treating them- what them round the house and outside on dry days, just to make sure they fit properly and they are comfortable.

Before
Firstly remove the laces so they don’t get in the way. Then you need to warm the boots up, this way the grease soaks into the leather a bit easier. You can do this by either using a heat gun, I guess a hair dryer would do the trick, I honestly just left mine in the sunshine for a an hour or so.
Once they’ve been warmed, get your rag, open the grease, dip rag in grease (you can use as much or as little as you like, but the less you use the more layers you will have to do) then just rub the grease on to the boots. I just made little circles while rubbing it in. Make sure you get into all the little seems and joins, thats where you more likely to find leaks and get wet feet, and that what were trying to avoid.

During
Only the outside of the boots need doing, including the tongue bit. And repeat, both boots, just keep layering them up- wait for the grease to dry in between each layer, but by the time you’ve done the other boots the first layer on the other boots will be dry.
I recon 4-5 layers is a good choice but, you can do more, or less, but if you do less be prepared to potentially get wet feet.
And that’s about it really. Just note also the more layers you add the darker the boots will go.

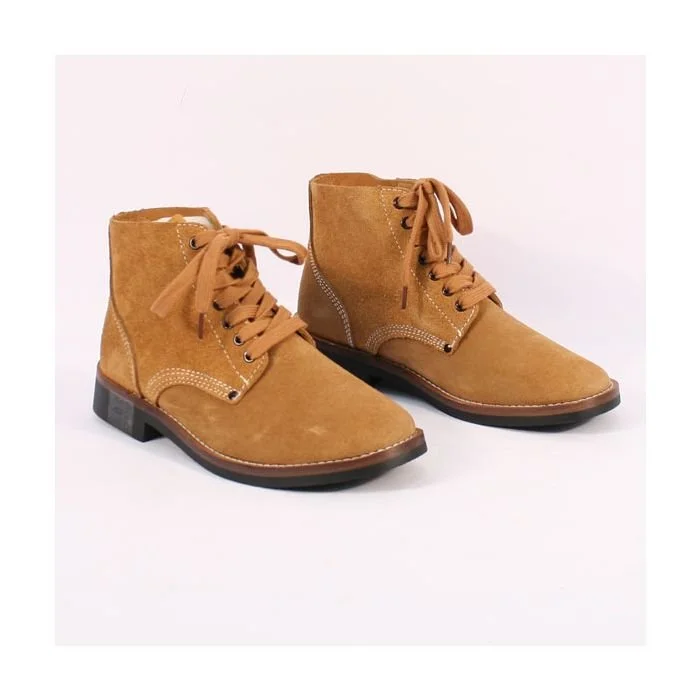
After